Cleaning your cat’s ears isn’t the most exciting part of the grooming routine, but it’s a genuinely important one. Many cat owners wonder how to clean cat ears safely without turning it into a wrestling match. Here’s what actually works, based on vet guidance and a fair amount of trial and error across four cats with four very different opinions about the whole process.
Use a vet-approved ear cleaning solution and gentle cotton balls or gauze to wipe the outer ear only. Avoid inserting anything deep into the ear canal. Most healthy cats don’t need routine cleaning, self-grooming handles it, and cleaning a healthy ear too often can actually irritate the canal. Check monthly and clean only when you see visible wax or debris; cats prone to buildup or with a history of infections may need a more frequent, vet-set schedule. Watch for signs of infection like redness, odor, or excessive scratching.
When to See a Vet Instead of Cleaning
Excessive scratching, head shaking, redness, swelling, a bad smell, discharge, or any sign of pain when you touch your cat’s ears. Ear infections and mites need proper veterinary treatment, not home cleaning alone.
At a Glance: Cat Ear Cleaning Essentials
| Step | Details | Tips |
|---|---|---|
| Supplies | Vet-approved cleaner, cotton balls/gauze | Avoid Q-tips and alcohol |
| Preparation | Calm your cat, have treats ready | Use gentle handling |
| Cleaning Frequency | Only when wax or debris is visible, not a fixed monthly routine | More frequent if prone to buildup, vet-directed |
| Signs of Infection to Watch | Redness, odor, discharge, head shaking | Veterinary care needed |
| Common Mistakes to Avoid | Cleaning too deep, harsh cleaners | Stick to outer ear only |
Why Cats’ Ears Need Cleaning (and When They Don’t)
Cat ears naturally accumulate wax and debris over time. Left unchecked, this buildup can lead to discomfort, infections, or ear mites. With four cats, I’ve learned that ear cleaning isn’t optional grooming, it’s genuinely part of keeping them healthy.
One of my cats accumulates wax faster than the others. Skip cleaning for too long, and the head shaking and ear scratching start almost immediately.
How to Clean Cat Ears Step-by-Step
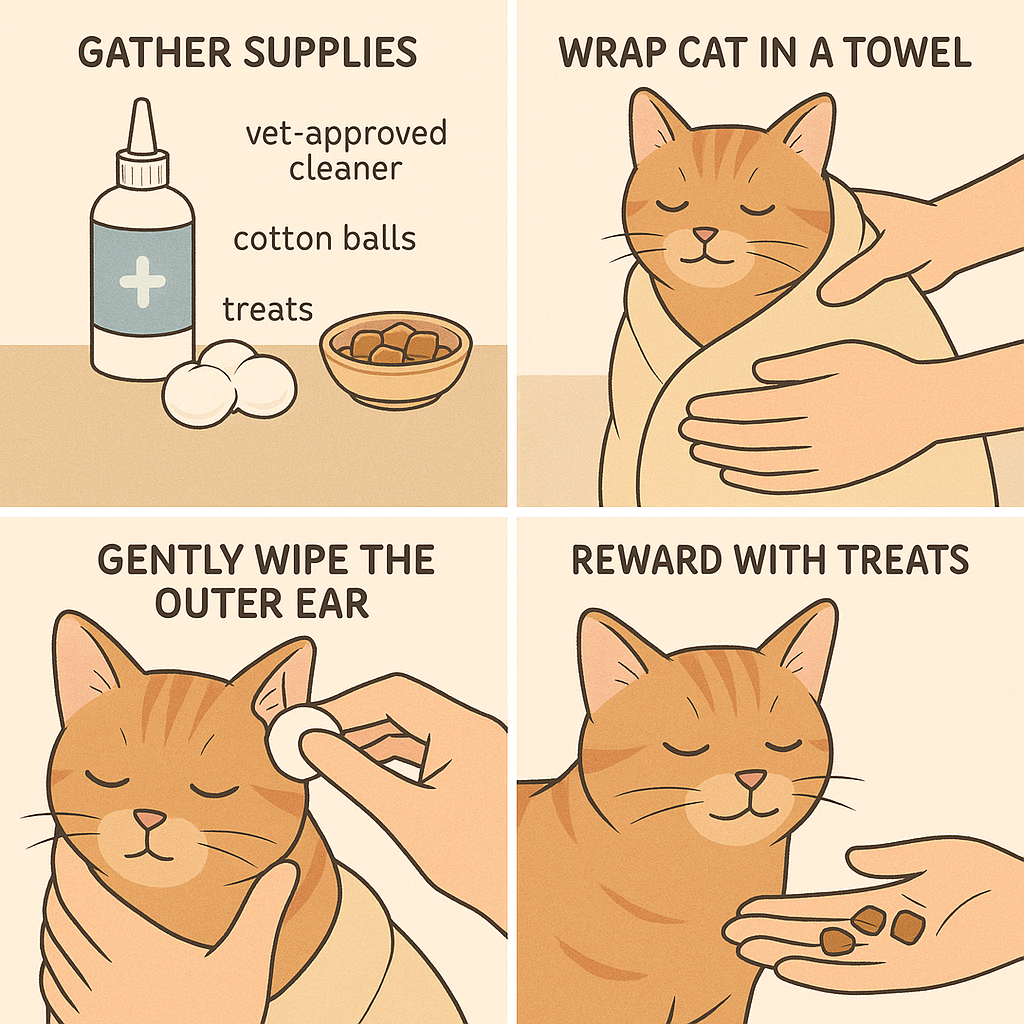
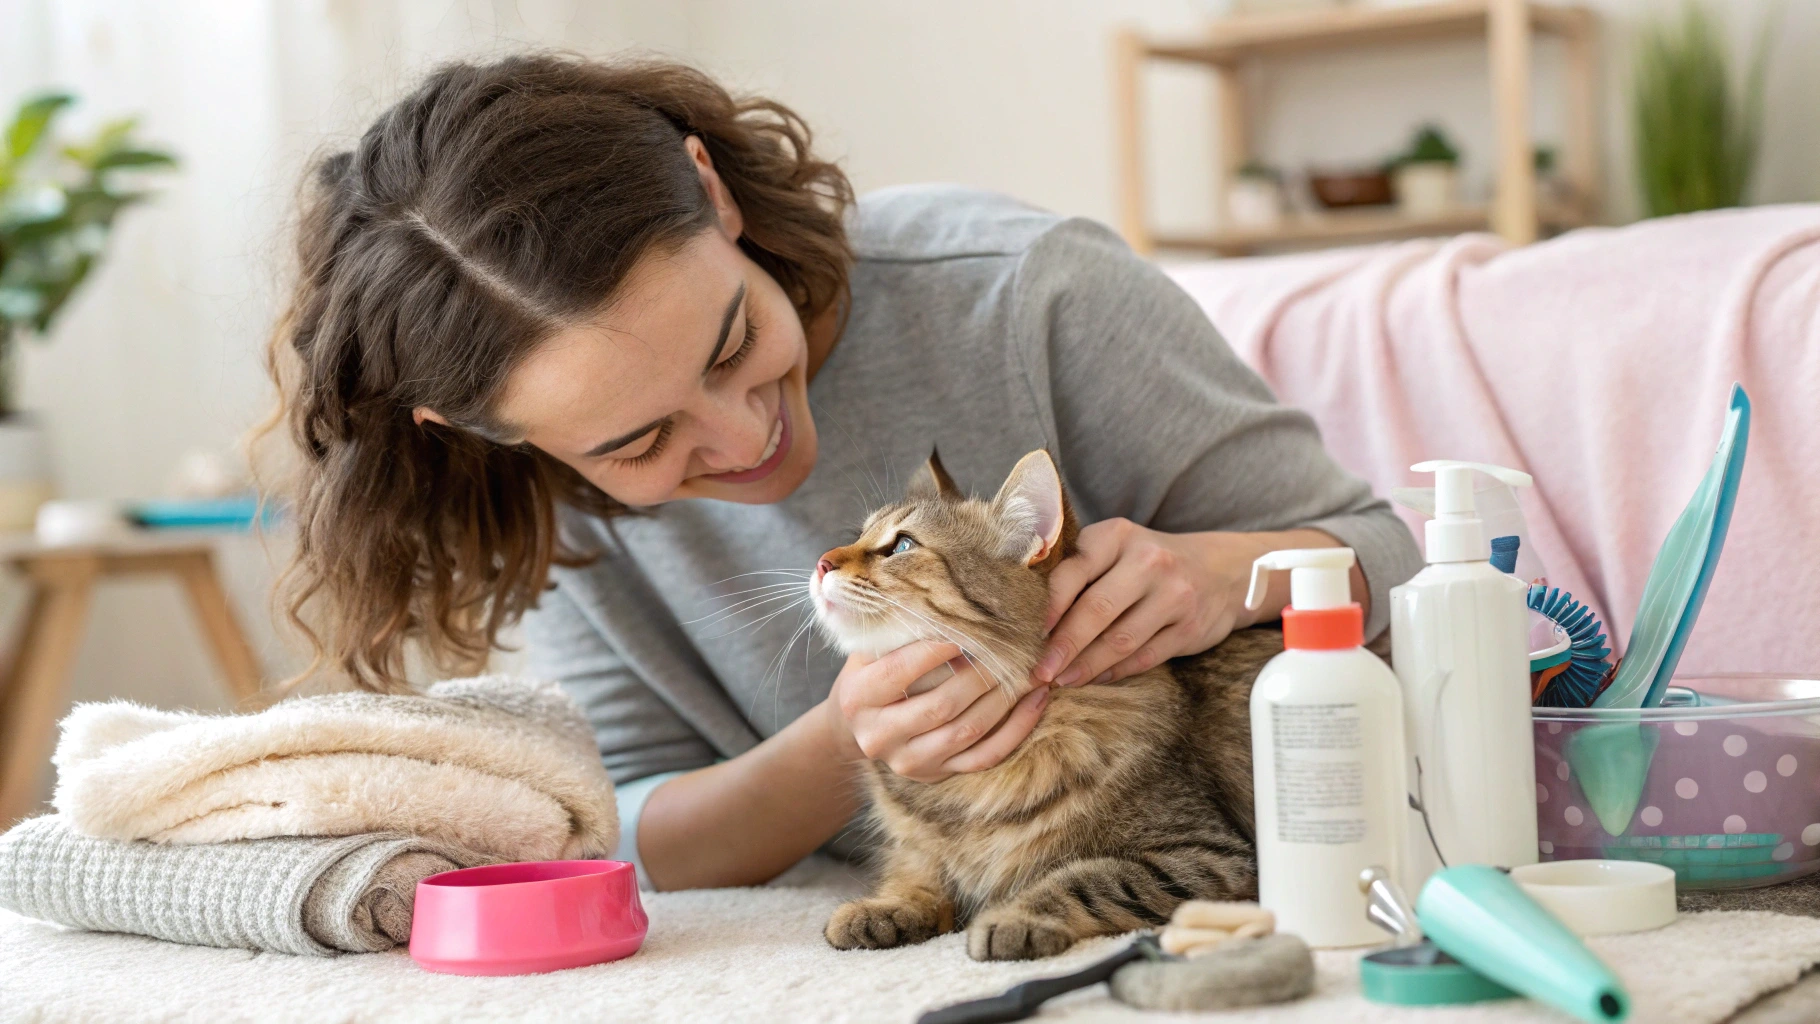
1. Gather Your Supplies
- Vet-approved ear cleaning solution — skip hydrogen peroxide and alcohol, both are too harsh for a cat’s ears.
- Cotton balls or gauze — soft and gentle for wiping.
- Treats — positive reinforcement genuinely helps. My cats now associate ear cleaning with snacks, which makes the whole process easier every time.
2. Calm Your Cat
Before starting, take a moment to settle your cat, some gentle chin scratches and a calm voice go a long way. If your cat is especially wriggly, wrapping them gently in a towel (sometimes called the “burrito hold”) can help keep things calm for both of you.
3. Examine the Ears
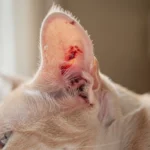
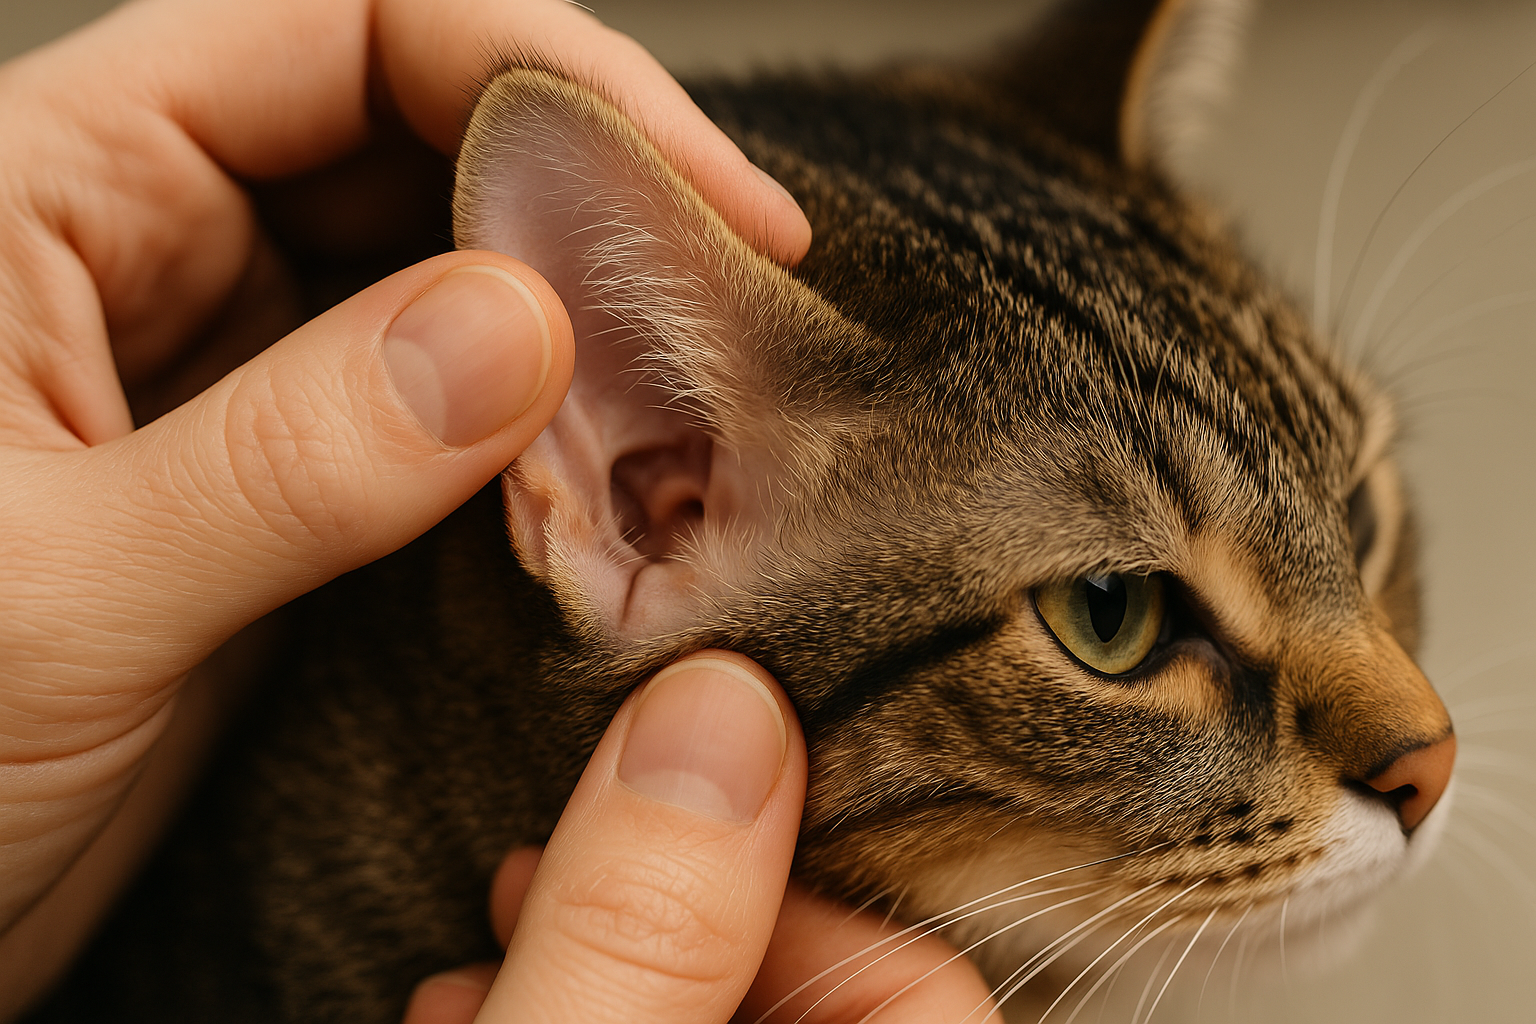
Look inside for wax, debris, redness, or any unusual smell. Healthy ears should look pale pink and clean. One of my cats always gives me a skeptical look during this step, but she tolerates it.
4. Apply the Cleaner
Dampen a cotton ball with the vet-approved solution, damp, not soaked. Gently wipe the outer ear flap and the entrance of the ear canal only. Never insert anything deep into the canal.
5. Massage the Ear Base
Gently massage the base of the ear for 5–10 seconds. This helps loosen debris. Your cat will likely shake their head afterward, that’s completely normal and actually helps bring loosened debris to the surface.
6. Wipe Away Excess
Use a fresh cotton ball to wipe away the loosened debris. Keep one hand gently steadying your cat in case they decide the session is over before you do.
7. Praise and Reward
Finish with treats and affection. This positive association makes future cleanings noticeably easier, my cats have come to expect their reward every time.
How Often Should You Clean Your Cat’s Ears?
Most healthy cats don’t need routine ear cleaning at all, self-grooming and normal ear function handle it, and cleaning a healthy ear too often can actually irritate the canal rather than help it. The better approach is checking monthly and only cleaning when you actually see wax or debris.
Cats who are more wax-prone, or who have a history of ear infections, are the exception, they may need cleaning on a more frequent schedule, but that schedule should come from your vet rather than a fixed monthly rule.
Across my own four cats, ear care needs vary quite a bit, some rarely need cleaning at all, others need more frequent attention. One size definitely doesn’t fit all.
Signs Your Cat’s Ears Need Cleaning or Veterinary Attention
Watch for these signs:
- Dark brown or black discharge
- A strong, unpleasant odor
- Redness or swelling
- Excessive scratching or pawing at the ears
- Head shaking or head tilt
- Pain or sensitivity when the ears are touched
Any of these signs warrant a vet visit rather than continued home cleaning, they can point to infection or mites that need proper treatment.
Common Mistakes to Avoid When Cleaning Cat Ears
| Mistake | Why It’s a Problem | What to Do Instead |
|---|---|---|
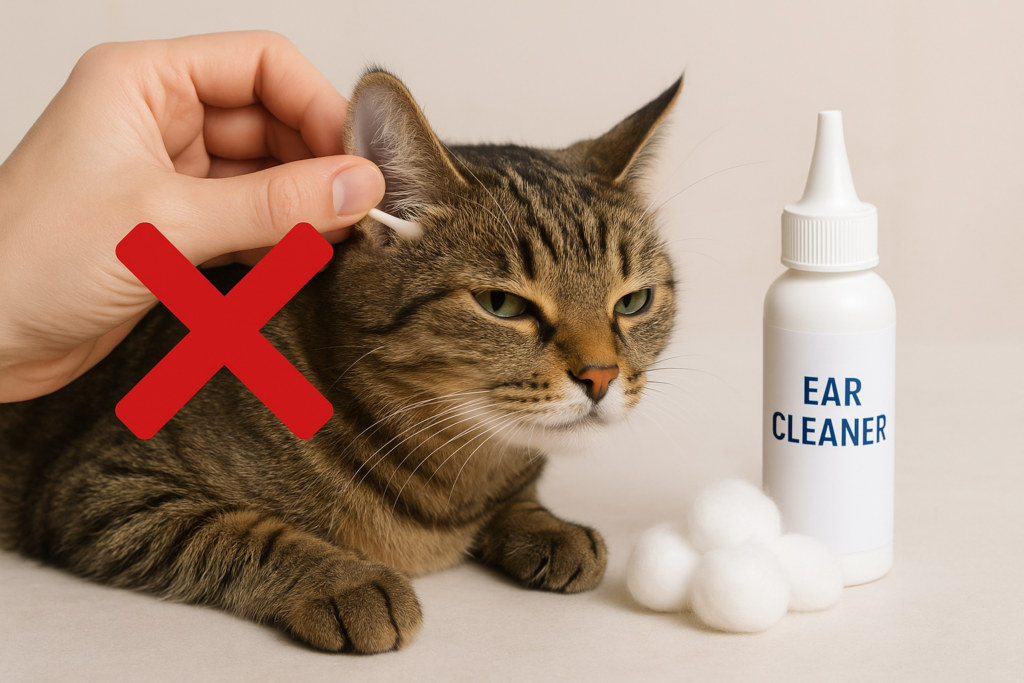
| Using Q-tips or cotton swabs | Pushes debris deeper and risks eardrum injury | Use cotton balls or gauze only |
| Cleaning too often | Irritates and dries out the ear | Stick to a vet-recommended schedule |
| Using harsh or human cleaners | Can cause irritation or toxicity | Vet-approved solutions only |
| Ignoring infection signs | Delays treatment and lets things worsen | See a vet early |
Prevention Tips for Healthy Cat Ears
- Keep ears dry and clean with gentle wipes on a regular schedule
- Bring up ear health at routine vet checkups
- Watch for early signs like scratching, shaking, or unusual behavior
- Address allergies or skin issues promptly, since these can contribute to ear problems
These habits genuinely reduce how often ear issues come up in the first place.
What to Look for in a Cat Ear Cleaner
Rather than chasing a specific product name, here’s what actually matters when choosing one:
- Alcohol-free and steroid-free formulas — gentler on sensitive ear tissue
- Vet-approved or vet-recommended labeling — a reasonable baseline for safety
- Liquid solutions over wipes for deeper cleaning — wipes are fine for light maintenance, but a proper solution reaches further into the outer ear
- Enzymatic formulas for cats with recurring buildup — some solutions include enzymes that help break down wax more effectively
Prices for quality vet-approved ear cleaners generally run $10–$25 depending on formula and bottle size. Your vet can point you toward a specific product suited to your cat’s needs, especially if they have a history of ear issues. For more general guidance, see PetMD.
Frequently Asked Questions
Yes, it’s worth cleaning both. Checking and cleaning both ears keeps things consistent and helps you catch a developing issue in the “clean” ear before it becomes obvious.
About 5–10 minutes per ear, including settling your cat, the cleaning itself, and the reward afterward. It gets faster as your cat becomes more comfortable with the routine.
Stop immediately and call your vet. Minor sensitivity is one thing, but any sign of pain, bleeding, or ongoing discomfort after a cleaning session needs a professional check rather than continued home care.
This is extremely common. Go slowly, use a calm voice, try the towel-wrap method for wriggly cats, and lean heavily on treats and positive reinforcement. Building a positive association over several sessions makes a real difference, most cats do settle into the routine with patience.
Bottom Line
Cleaning your cat’s ears safely comes down to using the right vet-approved products, staying gentle, and never going deeper than the outer ear. With four cats and four different personalities, patience and gentle hands have been the real key. Start slow, watch for warning signs, and stay consistent.